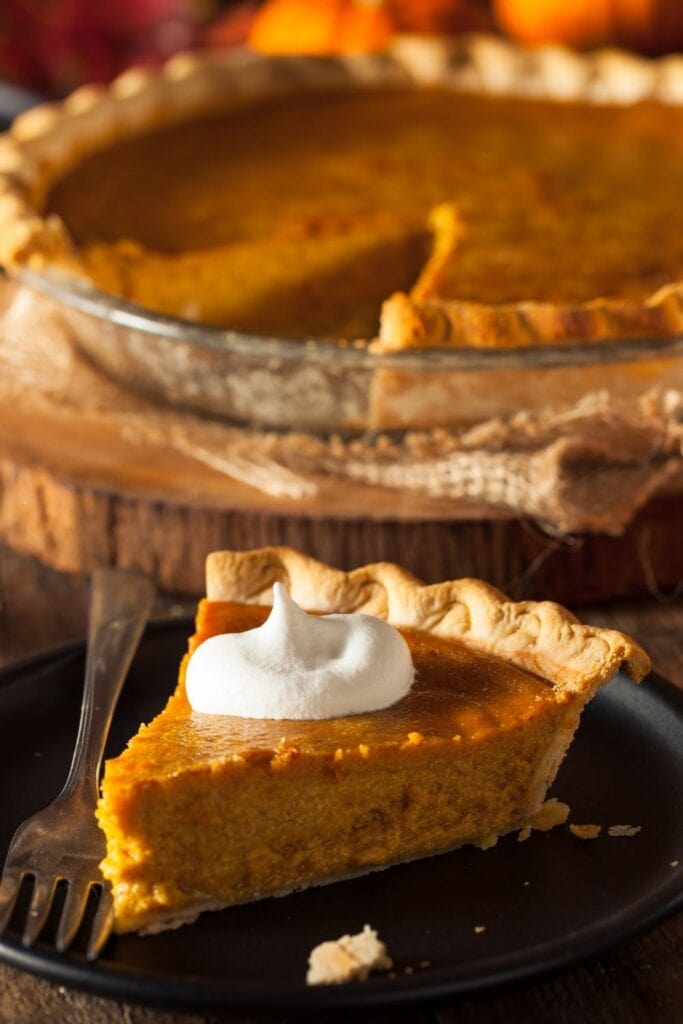
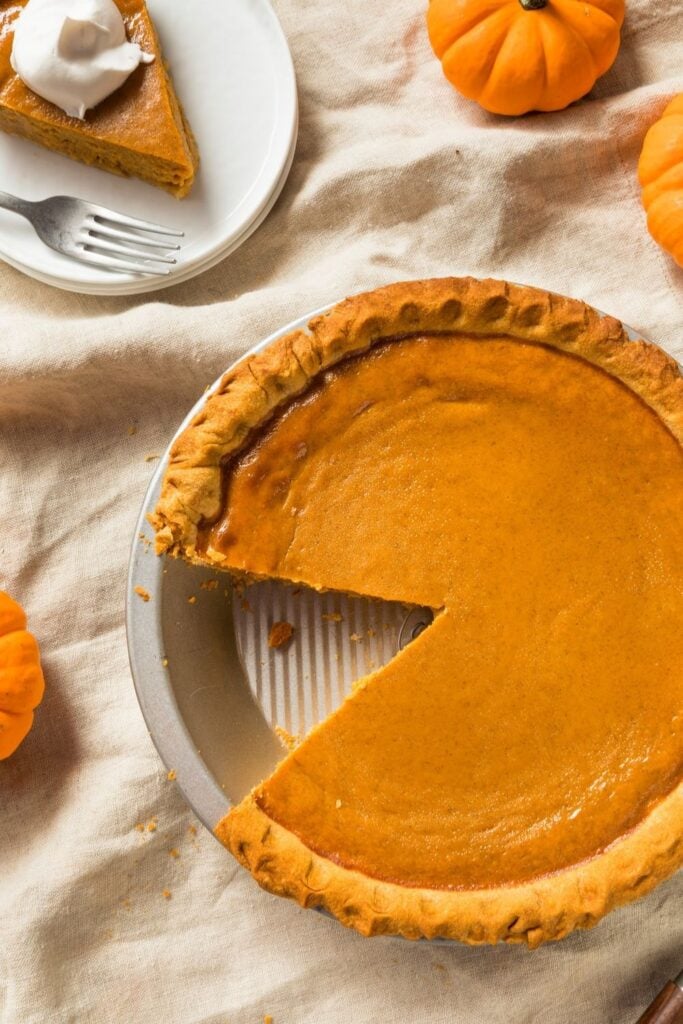
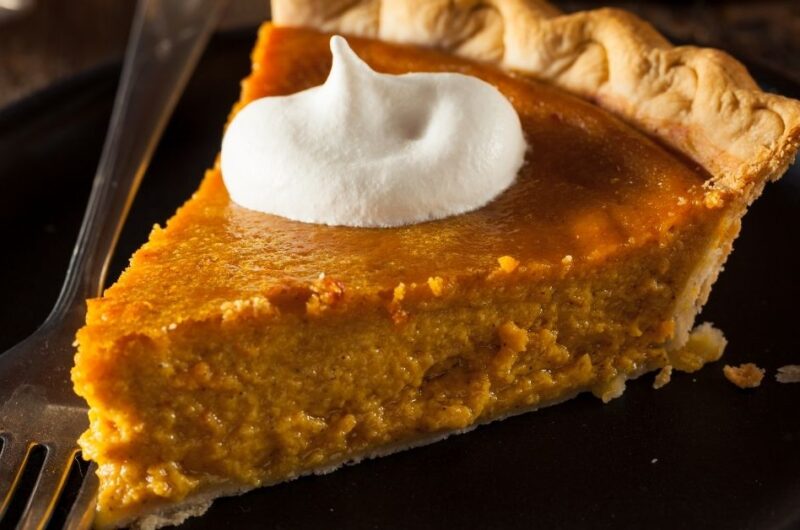
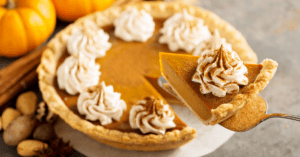
With its smooth, creamy, and custard-like filling, you won’t be able to stop at just one piece of this pie. (I’m thinking maybe three.) Besides its gloriousness, though, what makes me love it the most is how insanely easy it is to make. The key is sweetened condensed milk! Not only does this golden beauty make this recipe a breeze, but it also makes the pie thicker, smoother, and creamier than others. If you already have an existing recipe, scratch that. When it comes to flavor and level of difficulty, this one is all you’ll need.
Eagle Brand Pumpkin Pie
I’ve already raved about how awesome this pie’s filling is. Now, let me tell you more about the crust. A lot of people find making a crust from scratch to be too daunting a task, which then keeps them from baking pies. If you’re one of them, don’t be deterred. I’ll let you in on a secret: store-bought, refrigerated pie crusts are perfectly fine. Now, this isn’t to say that they’re just as good as homemade. But if making crust from scratch is the only thing stopping you from making a pie, by all means, go for store-bought! Don’t worry, I have a few tricks up my sleeve that’ll make that refrigerated crust taste buttery and flaky. Keep them in mind, and you’ll be one step closer to pie crust perfection.
What is Sweetened Condensed Milk?
Sweetened condensed milk is made with concentrated cow’s milk sweetened with sugar. It’s thick, sticky, sweet, and creamy. Because of its consistency, adding it to pumpkin pie filling will make it super thick and smooth. Also, unlike when using evaporated or half-and-half, there’s no need to add sugar when you’re working with condensed milk. That’s one less thing to measure.
How to Make Pumpkin Pie
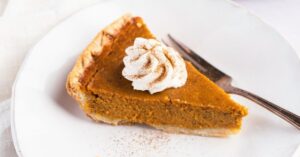
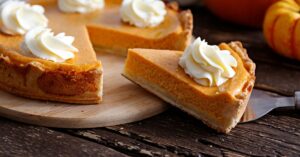
This is, without a doubt, the easiest pumpkin pie recipe I’ve ever tried, and it results in perfection every time. To make the filling, simply whisk together the pumpkin puree, condensed milk, beaten eggs, spices, and salt, until smooth. That’s it! Pour it into the pie crust and bake. Start with 425 degrees Fahrenheit, then after 10 minutes, reduce the heat to 350. Bake it for 35 to 40 minutes, or until the sides have set. The middle should still be a bit jiggly. Let it cool completely, and voila.
Can I Use Fresh Pumpkin Puree in This Recipe?
I normally opt for fresh ingredients when cooking or baking. But in the case of pumpkin pie, canned is the way to go. Fresh pumpkin has a lot of water content, and if you don’t drain it well, your filling will be runny. You’ll also need to strain it adequately, or it’ll be gritty and grainy. And most importantly, working with fresh pumpkins is just too much of a hassle. Meanwhile, canned pumpkin is already strained, drained, and pureed for you. Just dump it into a bowl and it’s ready to go.
Tips for Making The Best Pie
Freeze the crust. Fit it into the pie plate. I like using a glass dish, here, because it allows me to check the progress of the crust while in the oven. Cover it with plastic wrap, and let it sit in the freezer for 1 hour. The colder the crust is, the flakier it gets during baking. Blind-baking is another essential step if you want your crust to stay crisp and firm despite being filled with custard. It’s a super-simple step: just bake the crust half-way through before pouring the filling in. Here’s what you’ll do: after freezing, remove the plastic wrap and line the crust with parchment paper or aluminum foil. Fill the crust with pie weights (dried beans, uncooked rice, and pennies will work, too.) The weights will keep the dough from puffing up during baking.Bake the crust for 10 minutes at 350 degrees Fahrenheit with the weights on. Then, remove the weights and lining and bake for another 10 minutes.
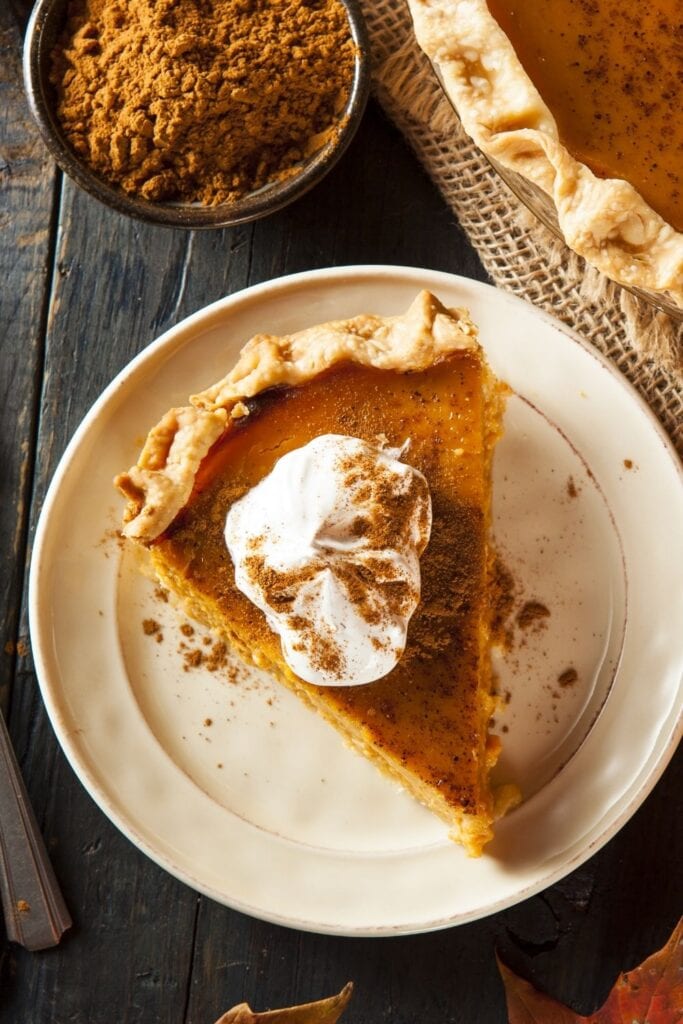
Canned pumpkin is already pureed, but if you want your filling extra smooth and silky, pop it in the blender and puree it again.My go-to brand has been, is, and will always be Libby’s (not a paid ad!). Out of the several brands I’ve tried, it’s the one with the best consistency and color. Bonus points for its gorgeous, deep orange hue, too.Give your filling an even deeper flavor by cooking the canned pumpkin over low-medium heat for 5 minutes, or just until it starts to bubble up.Slightly beat the eggs before mixing them with the rest of the ingredients. They’ll incorporate better that way.Speaking of eggs, if you want an even richer pumpkin pie, throw in another egg yolk into the filling. Cracking is one of the main concerns when making pumpkin pie. The trick is to not over-beat the filling. When you whisk the ingredients together, stop as soon as they’re smooth and well-combined.Also, stick to the prescribed baking temperature and duration. The filling will crack if you over or under-bake it. If you notice that the crust’s edges are browning way too much and the filling isn’t done yet, cover the dish loosely with aluminum foil.Some recipes will tell you to stick a knife into the center of the pie to test for doneness DON’T. If you’re careful, it likely won’t happen, but it can cause the pie to crack down the middle. To test, just give the pie a jiggle. The sides should be all set and dry, while the center is still just a little wobbly.Wait for the pie to cool completely before you slice. I hate waiting, too, but this is a must. The filling needs at least 2 hours to set. If you cut it too soon, you’ll just get wet, runny slices. Pumpkin pie can be made up to 2 days in advance. Make it and then forget about it! It stays perfectly delicious even when refrigerated. You won’t have to juggle cooking the turkey, the side dishes, and the dessert all on the same day.This pumpkin pie is delicious as it is, but why not level up with some homemade whipped cream? One dollop of this billowy goodness makes a big difference. To make whipped cream, just beat cold heavy whipping cream with an electric mixer until soft peaks, about 2 minutes. You can add some powdered sugar along the way if you want a sweet garnish.
The most common thickener is starch, in the form of flour, cornstarch, or arrowroot. When using this method, you’ll need to cook the filling over low heat, stirring it constantly, until it reaches your desired thickness. Another ideal method is to add eggs. This is why this recipe calls for an additional egg yolk! Yolks make the filling extra rich and gives it that gorgeous, custard-like consistency. Click on a star to rate it!
Average rating 4.6 / 5. Vote count: 11 No votes so far! Be the first to rate this post.
Share on social media: Let us improve this post!